
p3: George pig piggy bank
As I mentioned in my holiday post, I had some Christmas present projects I was working on and would be posting about. Here’s the first one! This project was to make a George pig piggy bank for my two year old nephew. He’s always been a fan of Peppa Pig and in particular, George pig’s “rawr” whenever he plays with his dinosaur. With this in mind, I set out on creating him a piggy bank in the same of George pig and dino. But having a standard piggy bank wasn’t enough for me. I wanted it to be unique and special, just for him.
My idea was to have George and dino on top of a base, which would house the coins and electronics. The bank would detect when coins were dropped and trigger a sound clip of George pig saying my nephew’s favorite line, “Dinosaur GRRRRRRRRRRRRRR”. I also thought it would be a good idea to have it also serve as a night light and be powered via USB-C.
The first step was to get into Fusion 360 and model everything. After playing around with some designs and ideas, I came up with what would become the final design.
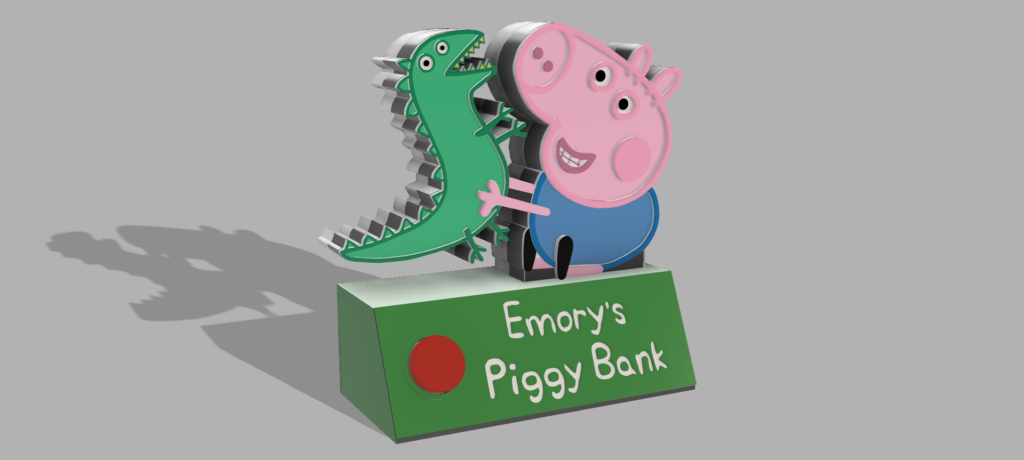
components
The components needed to make the above features work are:
- ESP32
- Photo interrupter sensor
- 40 ohm/3W speaker
- MAX58397 3W Audio amplifier breakout interface
- USB C female port
- WS2812B LEDs
- Push button
- Assorted wires to connect everything
electronics circuit
The ESP32 I used for this project is most likely overkill, but I had them on hand and didn’t want to order additional components. The photo interrupter is necessary to detect the coin drop, which will trigger the sound clips. Components in hand, I pulled out the breadboard and wired up a test circuit to make sure everything worked.

This above picture includes two sensors because I initially imagined a sensor going on either side of the coin slot. This is because the trigger area of the sensor is simply not large enough to ensure that large coins and small coins would be detected, regardless of where they drop in the slot. This turned out to be unnecessary as I later came up with a lever design that would ensure all coins are detected.
The sound works using the I2S sound features of ESP32. The sound clips were recorded and saved as mp3 files, which are then converted to hex code and loaded into the PROGMEM of the ESP32. A wonderful tutorial on how to do this can be found here. What’s next was to print the parts and see how everything fits together.
putting it all together
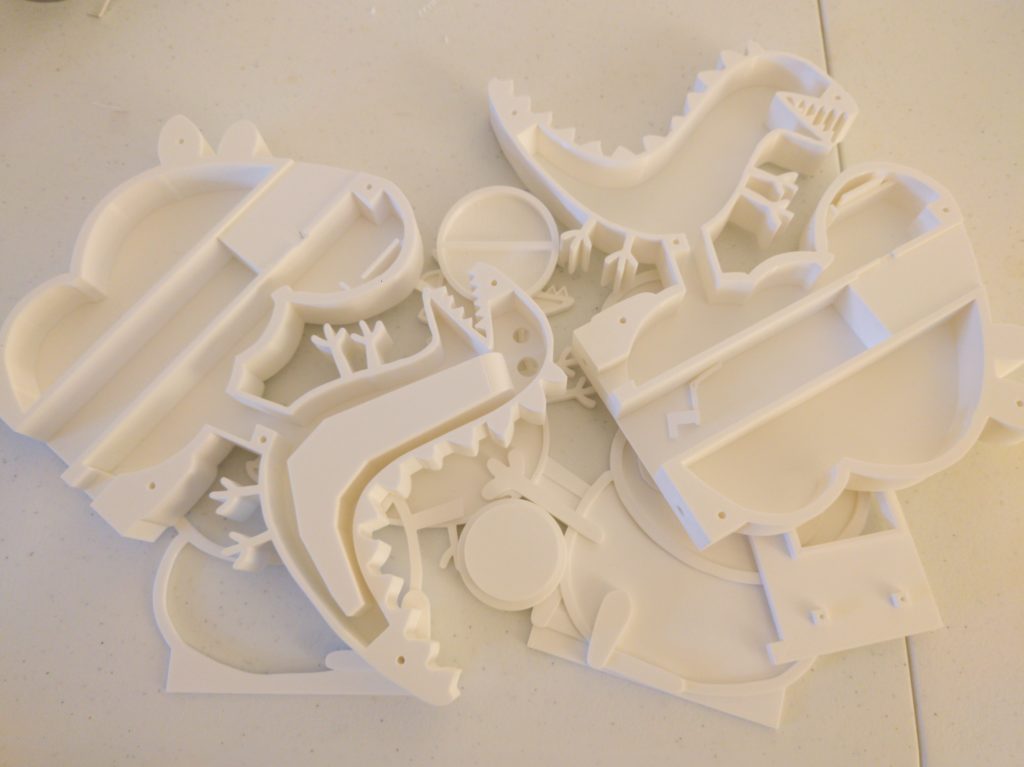
I printed everything use white PLA to ensure I could paint it without having to prime every piece and I also wanted to have the nightlight as one piece. Above, you can see a picture of all the parts including the two halves of the upper unit. You can see the coin chute going from the top of the head down through the body. The base is not shown in this photo, but it will house the ESP32 and speaker in a separate compartment from the coins. The coin compartment is large and should be able to hold hundreds of dollars worth in coins.
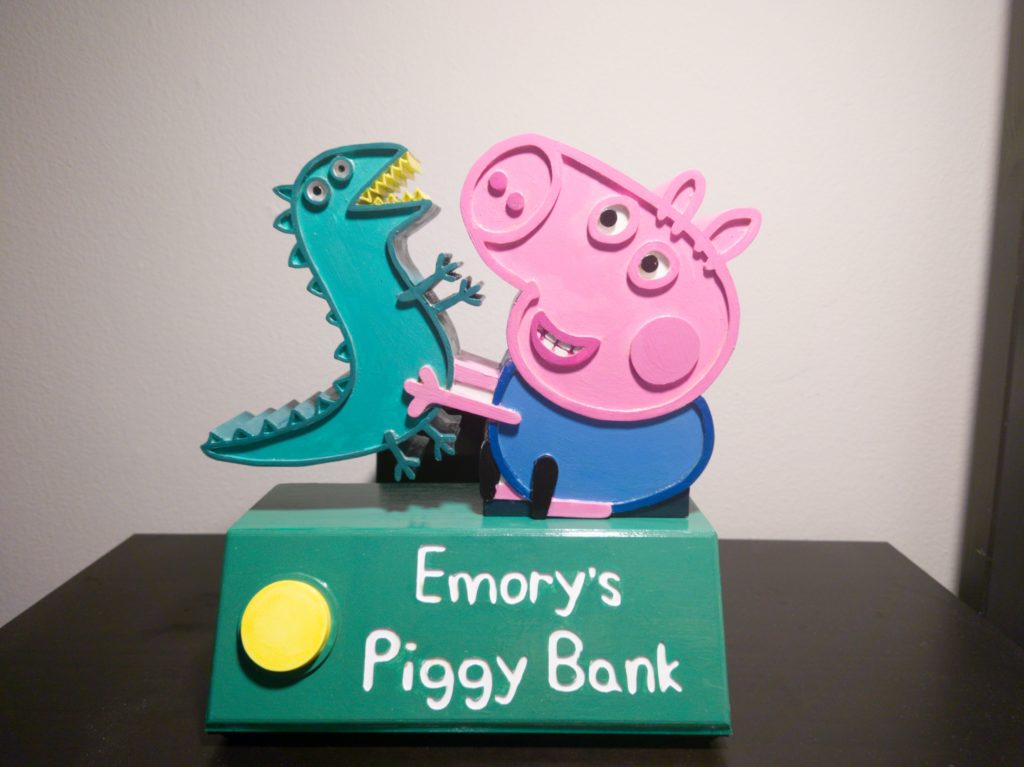
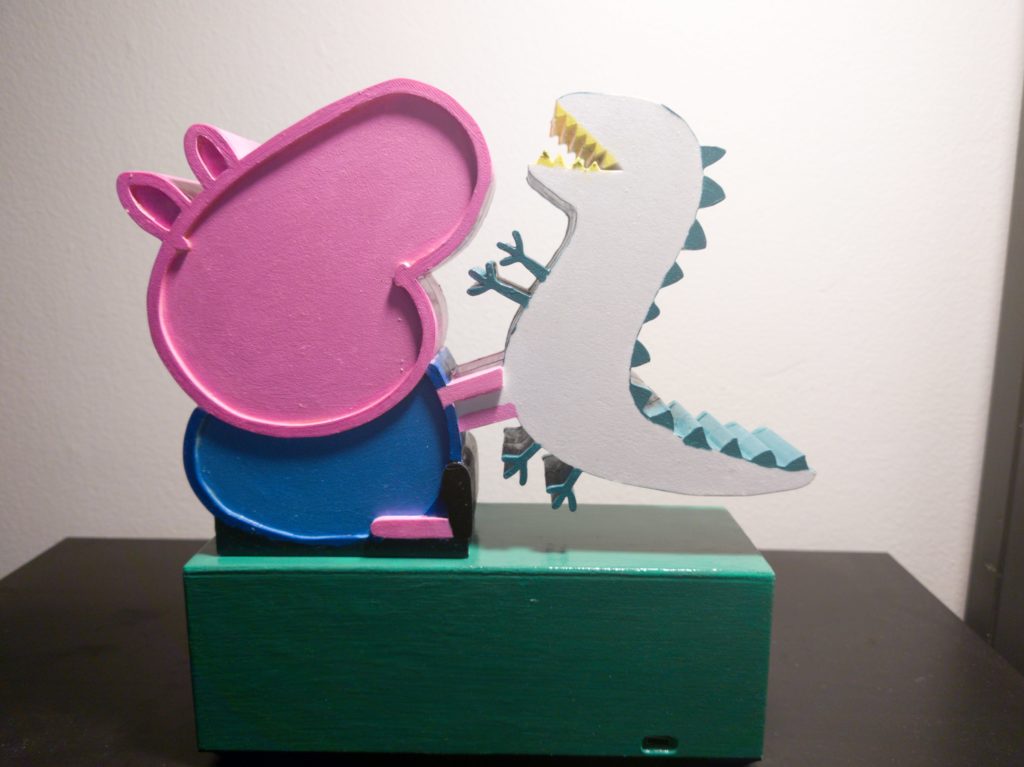
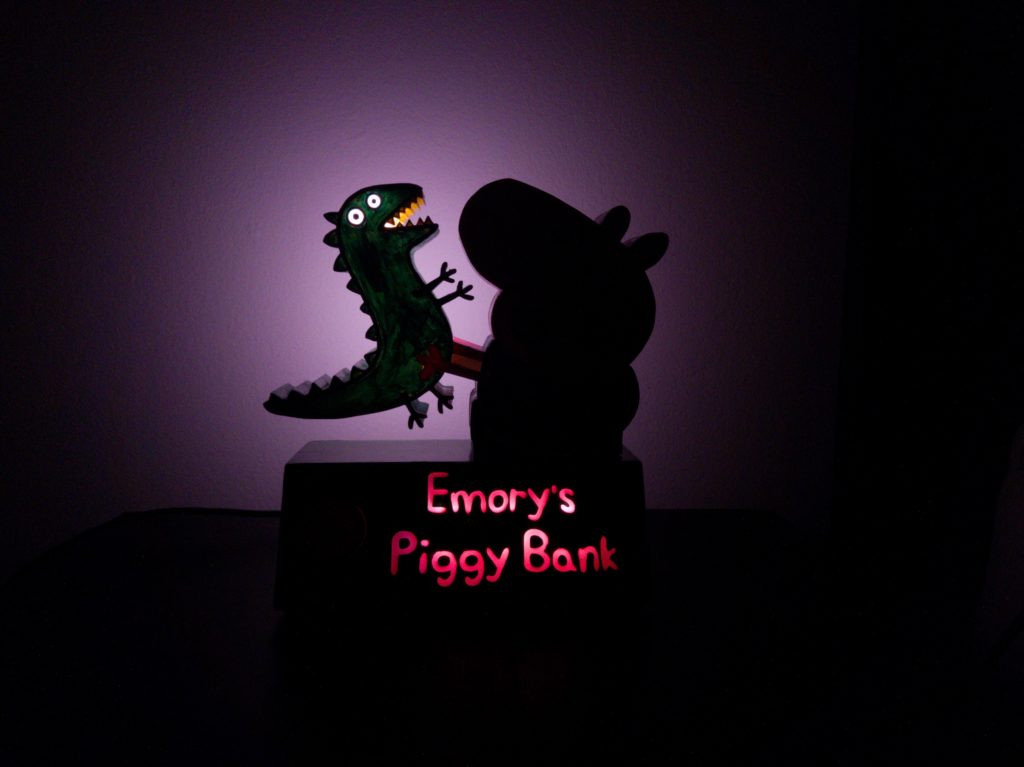
Everything was then painted using acrylic paints and finished with two coats of wipe on polyurethane for durability and safety. The parts were then assembled using screws and superglue, where necessary. The money compartment is accessible via a screw cap and the large yellow button turns on the night light. The night light illuminates the back of the dinosaur, the dino’s eyes, and the lettering on the front of the base (see photo below).


demo
I had a lot of fun designing and creating this gift for my nephew. I gave this to him with a bunch of coins, which he really enjoyed putting the slot. Months later, I’m told he still very much enjoys putting coins into the bank and I hope he continues to put it to good use for a long time to come. As always, thanks for reading. Check back soon for the next post on the other gift project I worked on.